Methods of Portraiture
|
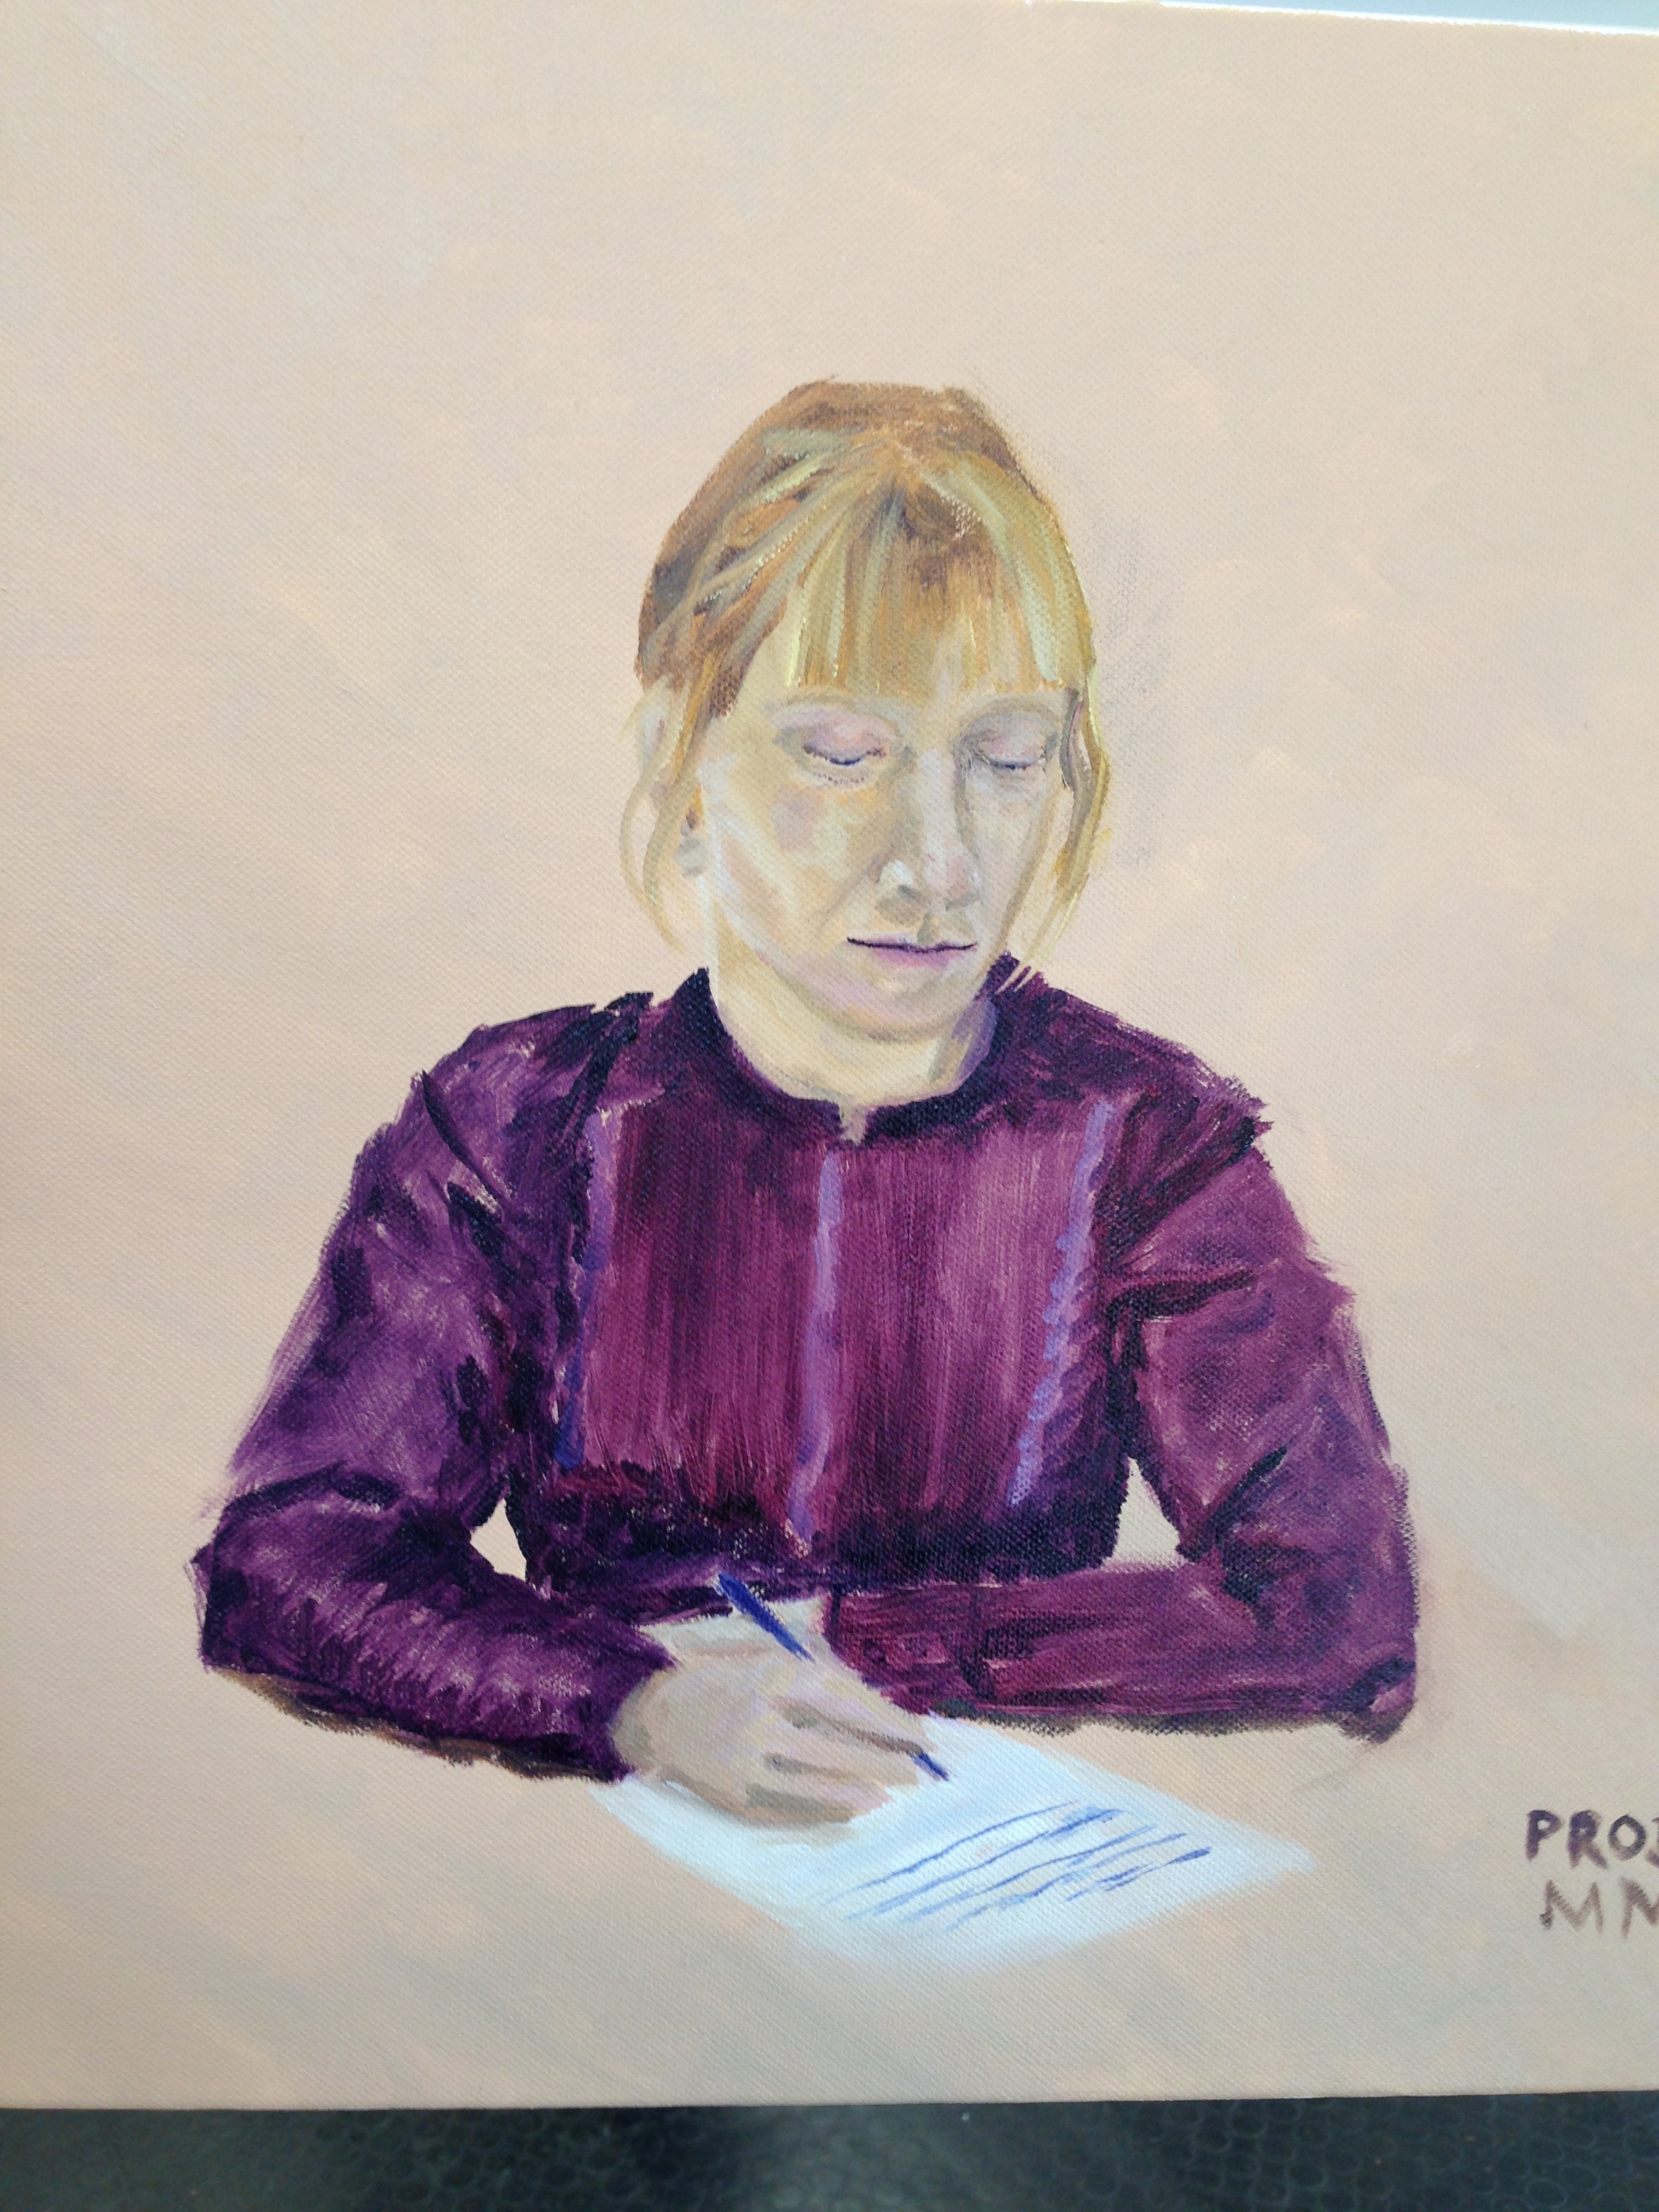
I blocked out the face, filled bits in, and painted the darkest part of the lip shadow thick, then scrubbed it back with paint. Most areas had one layer of paint, some had two and some had none, and remained the background colour, allowing the image to harmonise with the background. The model being very thin, I had a failure in an interesting way. He shoulders are the right proportion, but the foreshortening on her arms was not sufficient, and that meant that her body looks too small. I compounded that with a hand that was sized wrong. (As she was writing with it, I did not want to spend too long on just that part.) Nevertheless, I got what I wanted out of it, which was a pleasant-looking representation of the model, that looked enough like her to be called a portrait. After that, I went on to the tougher work.
I left the hair mostly undeveloped and put in a very dark purple background modified with a bit of the green. It was close enough to black to look that way at casual inspection. I left the painting in that state over the weekend to dry, and did a second coat on Monday. The problems with brush marks in the green indicate I had not got the right mix, and I found it was harder to scrub out on the board, either because of the paint or because there was no weave to slow down and absorb the white spirit. I really disliked my underpainting, which is something that happens very rarely. Finding a suitable green underpaint is a priority for this particular style. I want it to be something I can use without mixing it, as purity of colour is likely to be important on the later stages, when the green is mostly covered.
Again the hair just got blocked in, as the exercise was for the face and in particular the skin. I used a fan brush to streak the hair and called it done. The skin was a combination of pale ochre, titanium white and crimson, keeping to a very simple colour scheme. The crimson was one of the paints I had used for the background, to tie it together. I painted over in patches of pink or pale yellow, glazing towards the edges where the shadows were. I should have been able to glaze over just about all of it, but I had to paint solidly to counteract the underpainting’s shortcomings. I consoled myself with the fact that titanium white is highly opaque anyhow, and that I was just doing what it was designed for. Nevertheless, I think the light/shadow intersections came out best. After I had the main shapes, I darkened the lip shadow, shaped the mouth a little, and scumbled the lighter parts on the eyes, painting wet in wet to get the shiny effect. In total I spent about three times as long on that painting as on the first one, but for a totally different effect. |