Painting with Charcoal
|
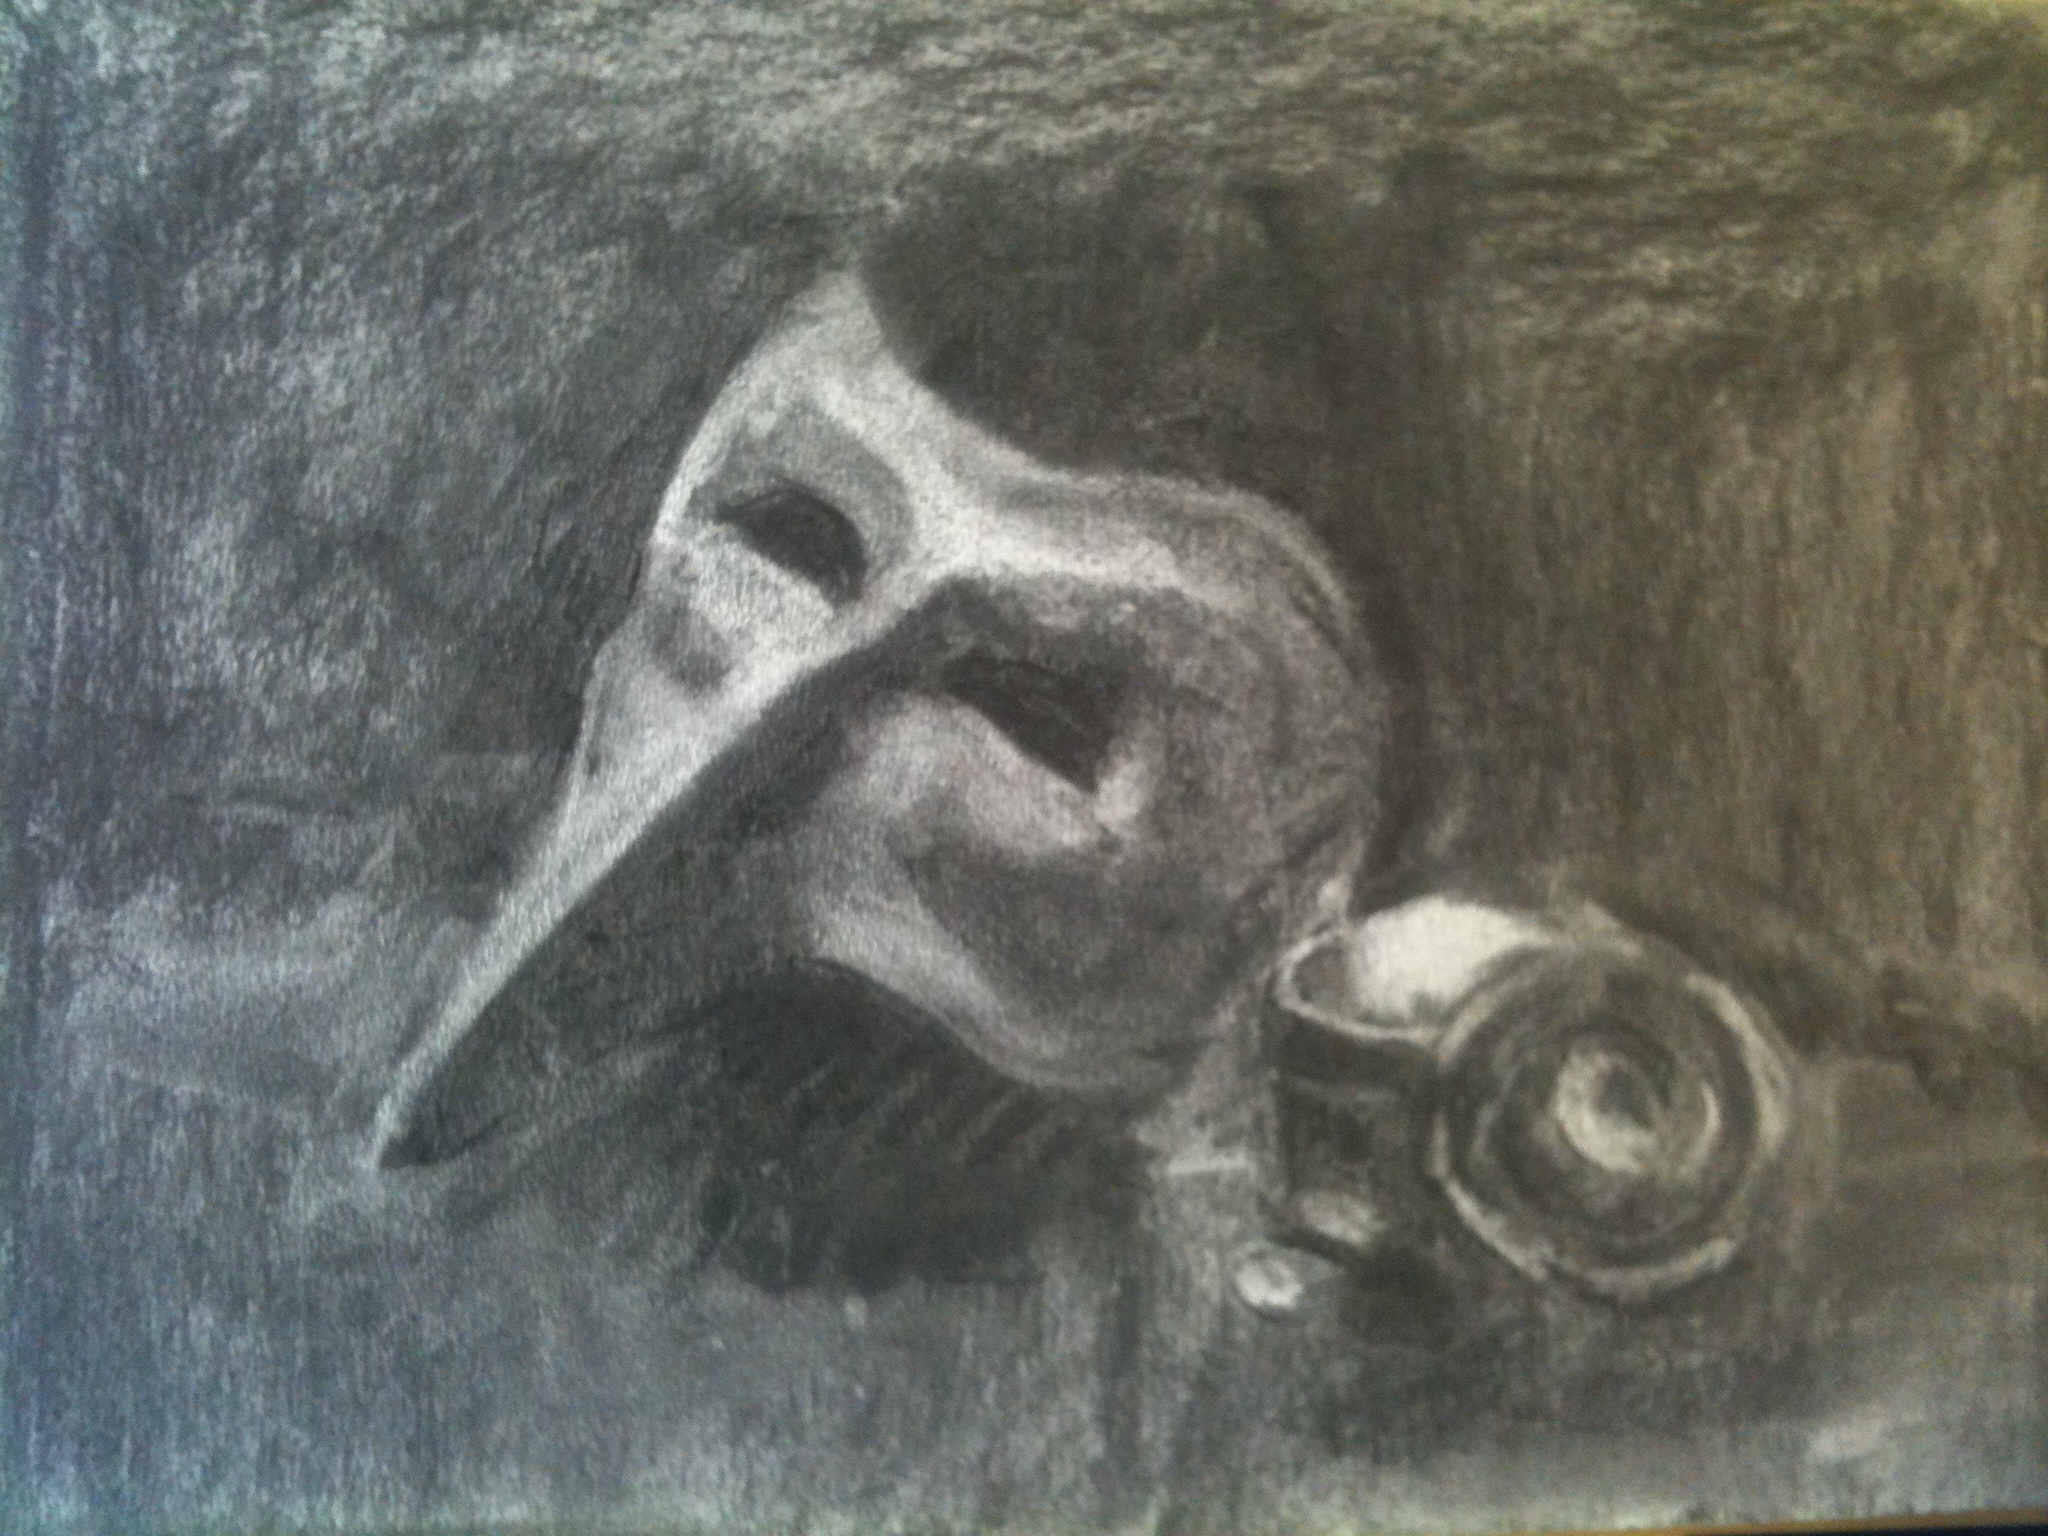
I just said in this post on colour that if you are going to paint with mass tones, you need to learn to use charcoal. I justified it briefly there, but this is the more useful part; why. The linked picture is a pretty good example of one of the stages of my work. It is a tonal charcoal study of a still life. Before I sit down to do any still life, I design it. The charcoal version tells me two things. One is whether the design works, the other is whether the painting will work. This is a bit like proof of concept vs full production, I think; the design may be valid but I might not be able to pull it off. It might, rarely, be a bad design that could be made into a good painting, but that is not my thing – I get the work in at the start and make it happen in order. The way that it tells me if something is a good painting is that I know what the dark and light shapes will look like. A one third to two thirds rule, either more dark or more light, is usually best. I can find out which this is, which is not always clear until I have made a few executive decisions, and I can push the highlights and the shadows different ways. What I am doing is representing the forms. What you can see on a TV screen is a shape. What you can hold in your hands is a form. My work represents 3D with 2D. My method: I take a white sheet of paper with some tooth. That is, it has a jagged enough surface to hold charcoal. It has to be thick enough not to bend much, and tough enough to stand up to being rubbed. You can get around the thickness part by taking tough paper and taping it onto a drawing board. This also gives you a white edge which frames the picture on the paper. Tape it over a spare piece, to even out any tiny inconsistencies in the board itself. Take up your charcoal. Go for a cup of tea. Come back, and look at the design again through a viewfinder, your fingers, or with the jaded eye of a master who just found out all the full fat milk has been used. Taking a little more time here by habit can save it later. Whatever design school you are using, decide if the picture you want to make meets the brief. Then start. Willow charcoal sticks are consistently good and available. We are talking tone, so charcoal pencil or any form of compressed charcoal stick is out. Those often have binders in, and they are too dark for our purpose. Rub the side of the stick over the paper until it is all covered. Don’t worry about overlap. It is better to have more carbon on than less. Then rub it in with clean fingers. You will get messy. This is inevitable. You will have a grey sheen all over your paper now. Do it again, to darken the sheen. This is your Mid Tone. Mental exercise: think of a white cube in directional light. The bit facing the light will be white (modulo lighting problems. I can see you pedants at the back raising your hands. It’s full spectrum white light, OK…) and the bit facing away from the light will be the dark tone. Not black, unless there are no other light sources, but dark. The part that the light scrapes along on the way to get past will be grey. Take a look at the still life now; it is just a complicated, badly twisted cube. Everything is one of light, dark, or medium. If you had to, you could even break it down to light or dark, but we would have to change the background to make the mask stick out.  Pietro and Friends; Charcoal as Art The tools I use, in order of darkness: Then I spray fix it. If I have to get a really dark area or line, I will go over the fixed area with charcoal, and then refix. I try to avoid using charcoal pencil, because the warmth is wrong. (More, probably, on ‘warmth’ a bit later on.) Then, generally, I paint something based on it. |